
So, here I am doing another 3D tutorial. It turns out that as time passes it gets easier and easier.
Of course you have to know how to shoot a good stereoscopic pair, but let’s assume you’ve done that. You have used a 3D camera or have taken 2 images about 3″ apart that have no motion in them, and now you want to view them with your favorite pair of red/cyan glasses. (I like the ProView from Berezin).
So here are my source files:
Note – all images in this tutorial are clickable to the source files.
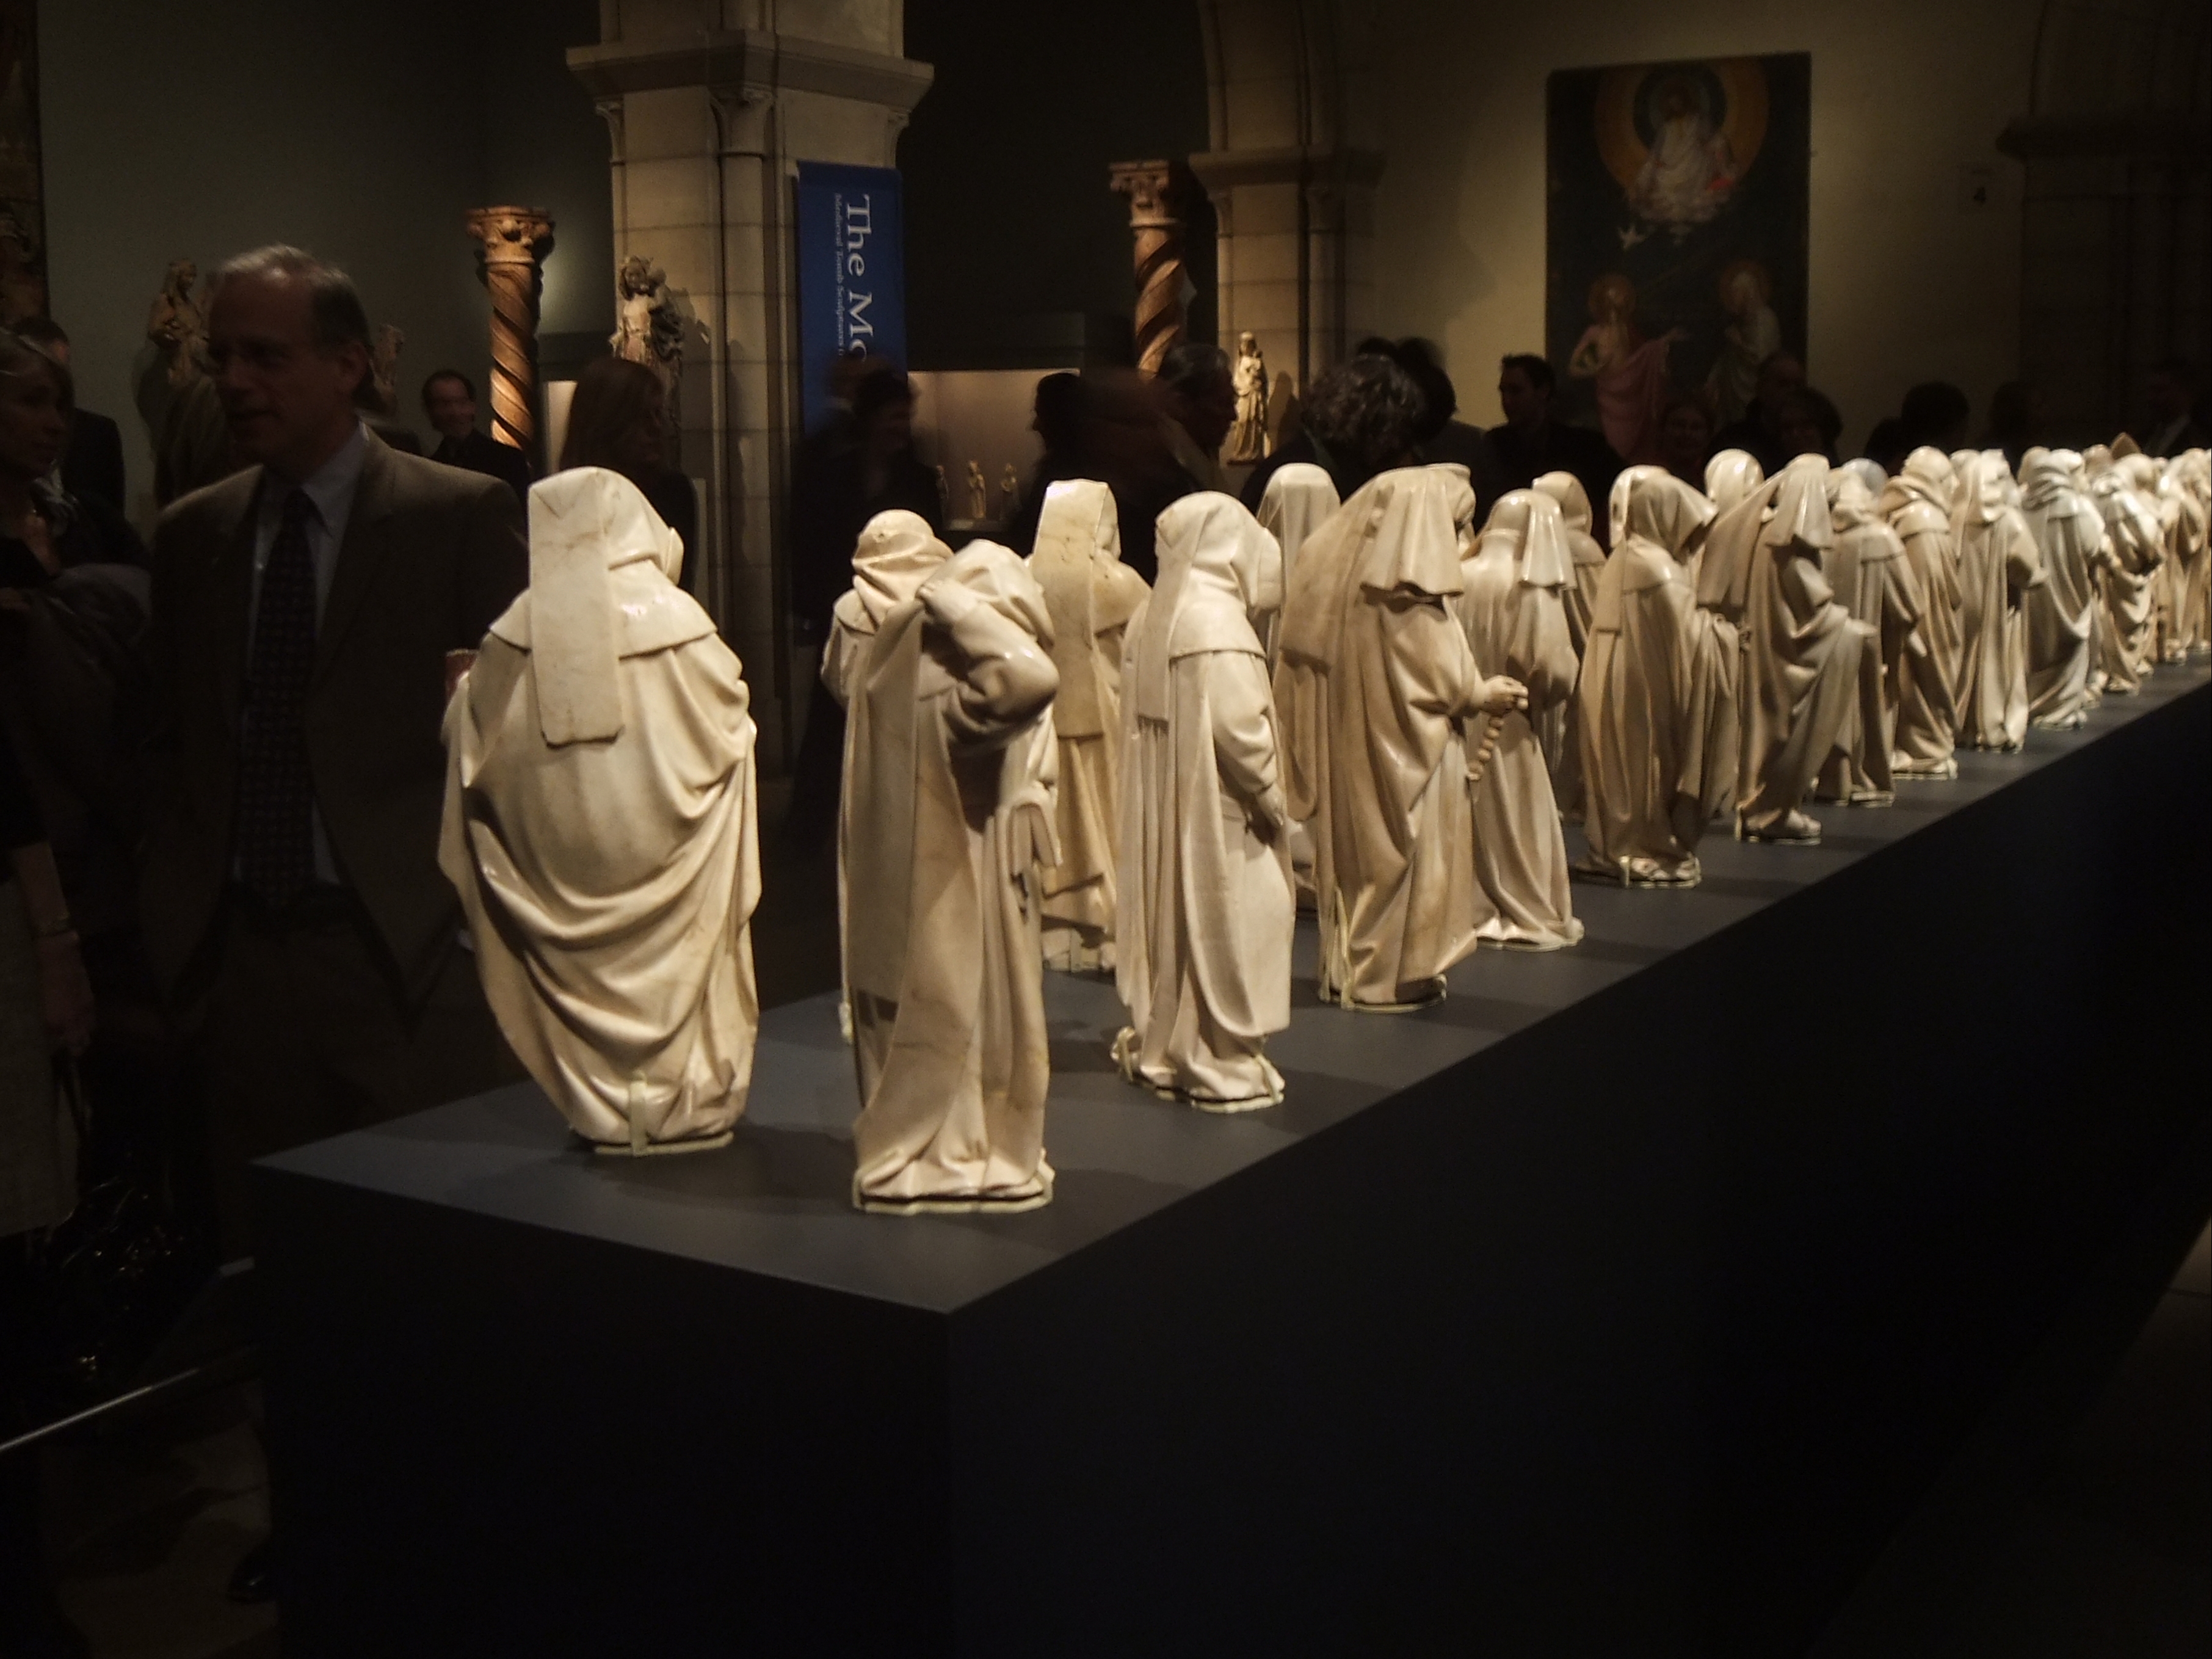
My right picture:
My left picture:
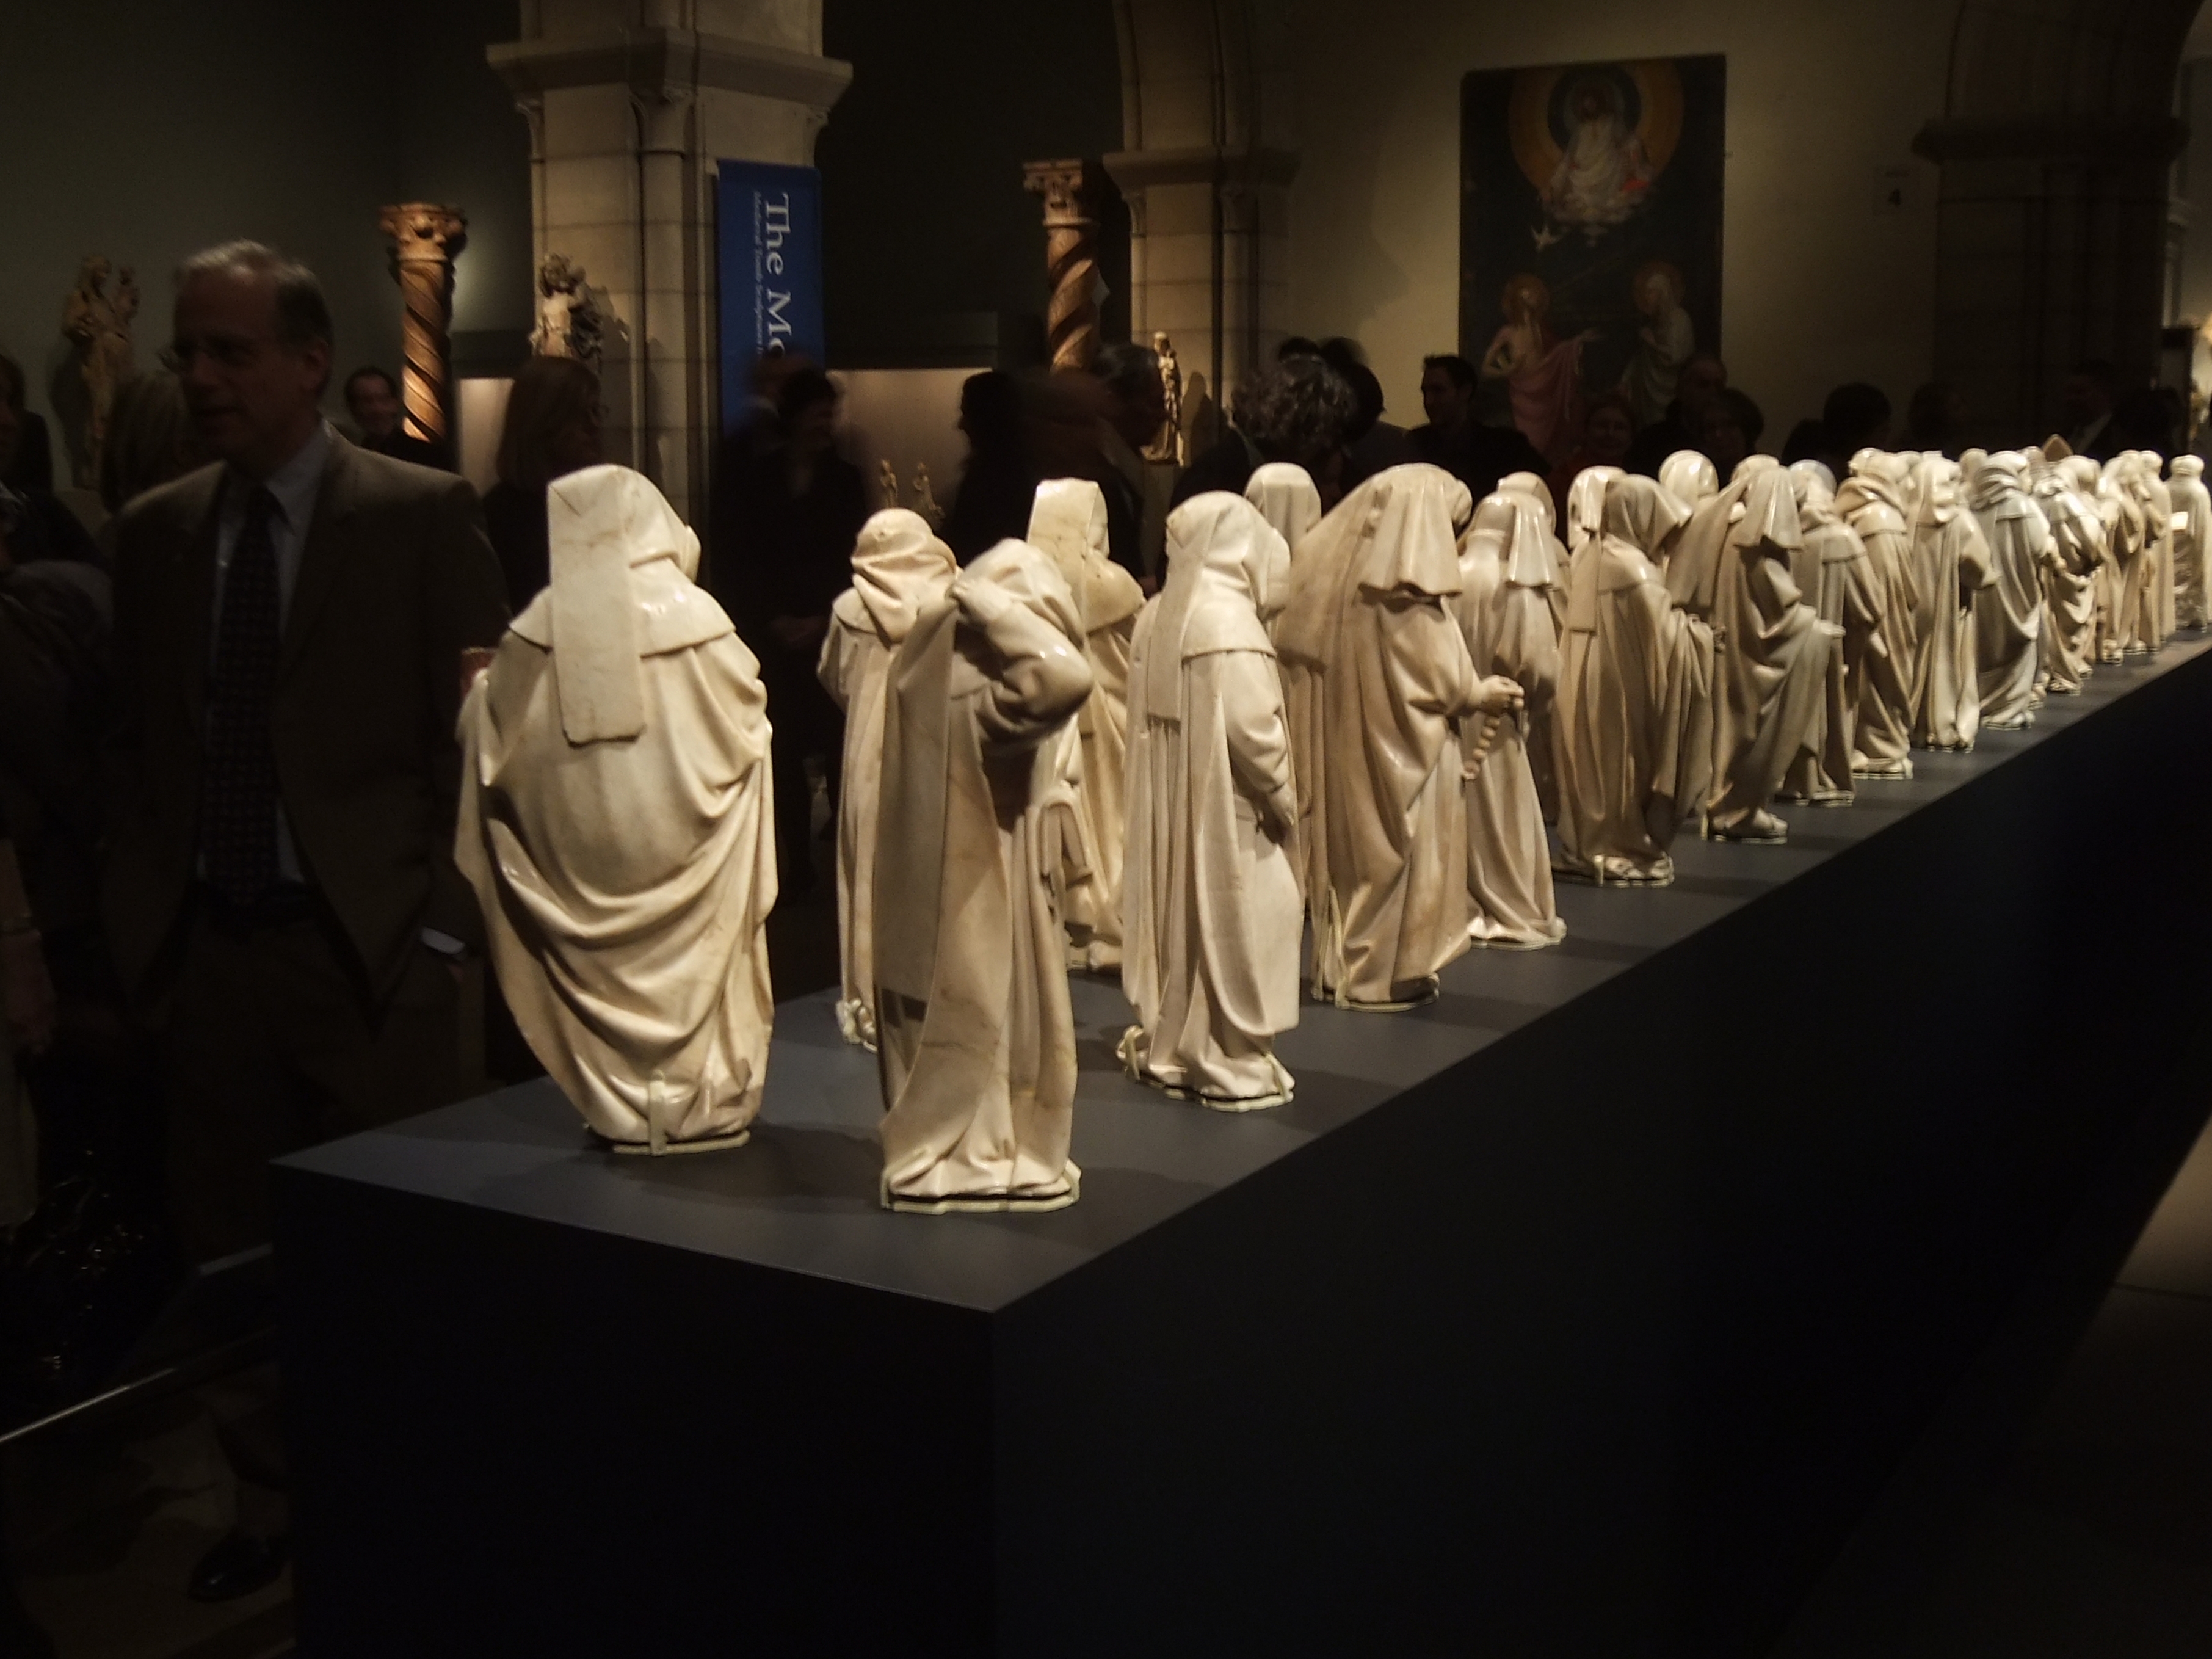
The images above link to the source files if you want to play with them yourselves. Since there are people in the shots we know I used a 3D camera (and didn’t ask everyone at the opening at the Met to stand perfectly still).
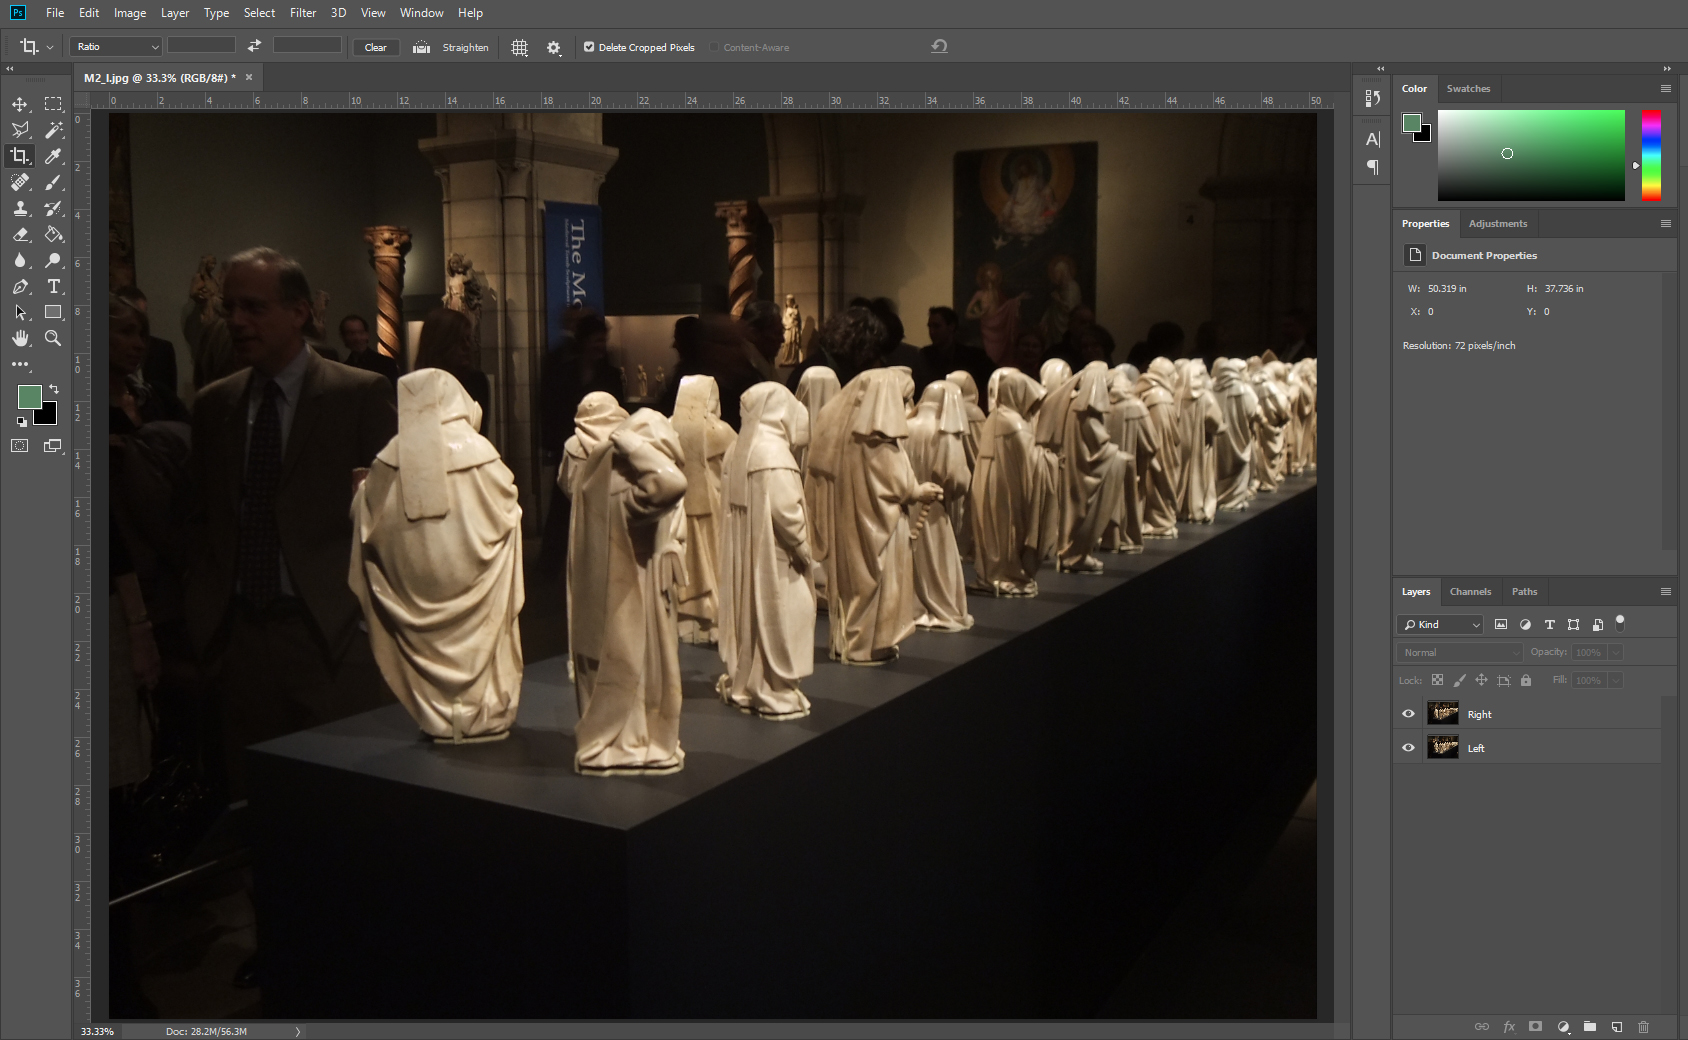
First I go to Photoshop and open both images.

Then, starting with the Right image.
- Select > All [This selects the entire picture]
- Edit > Copy [This puts it into the clipboard]
- Navigate to the Left image.
- Edit > Paste [This creates a new layer from the contents of the clipboard]
- Navigate to the Right image.
- File > Close [This closes the right image]
Yes there are keyboard shortcuts, and yes you may use them, but this is a tutorial so I am taking it nice and slow.
If you look in the layers panel you will see you have two layers:
- Layer 1 – which has the contents of the Right image.
- Background – which is the locked background layer and has the contents of the Left image.

We need to do several things.
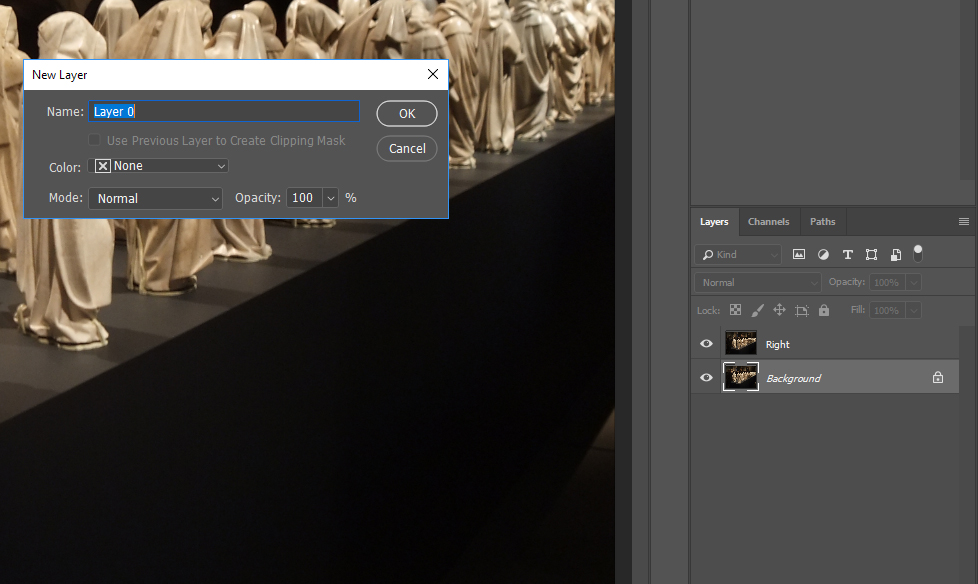
- Double click on the words “Layer 1” and rename it “Right” (You must be on the words or you will open the Layer Style menu by mistake).
- Since we don’t want the Background layer to be a “locked” background layer we need to convert it into a normal layer.
- Double Click on the Background layer and it will prompt you to name a new layer.
- Basically this converts your locked background layer into a regular layer and allowing you to rename it at the same time.
- Voila, now you have two unlocked layers. Right on top, Left on bottom.
This should literally take a minute.
Now we need to make it anaglyph. I know about 20 ways to do this and I recently learned one that is so easy I feel stupid. Yes there are tools and software for alignment and things but I needed to write up a tutorial for my VR students and I don’t want them using those yet!
Personally, I prefer the grayscale anaglyphs. Unless you know your colors really well, you can get very weird vibrations.
So go to each layer and click Image > Adjustments > Desaturate. Remember you have to do this for BOTH layers!
Now this next part is where it gets funny.
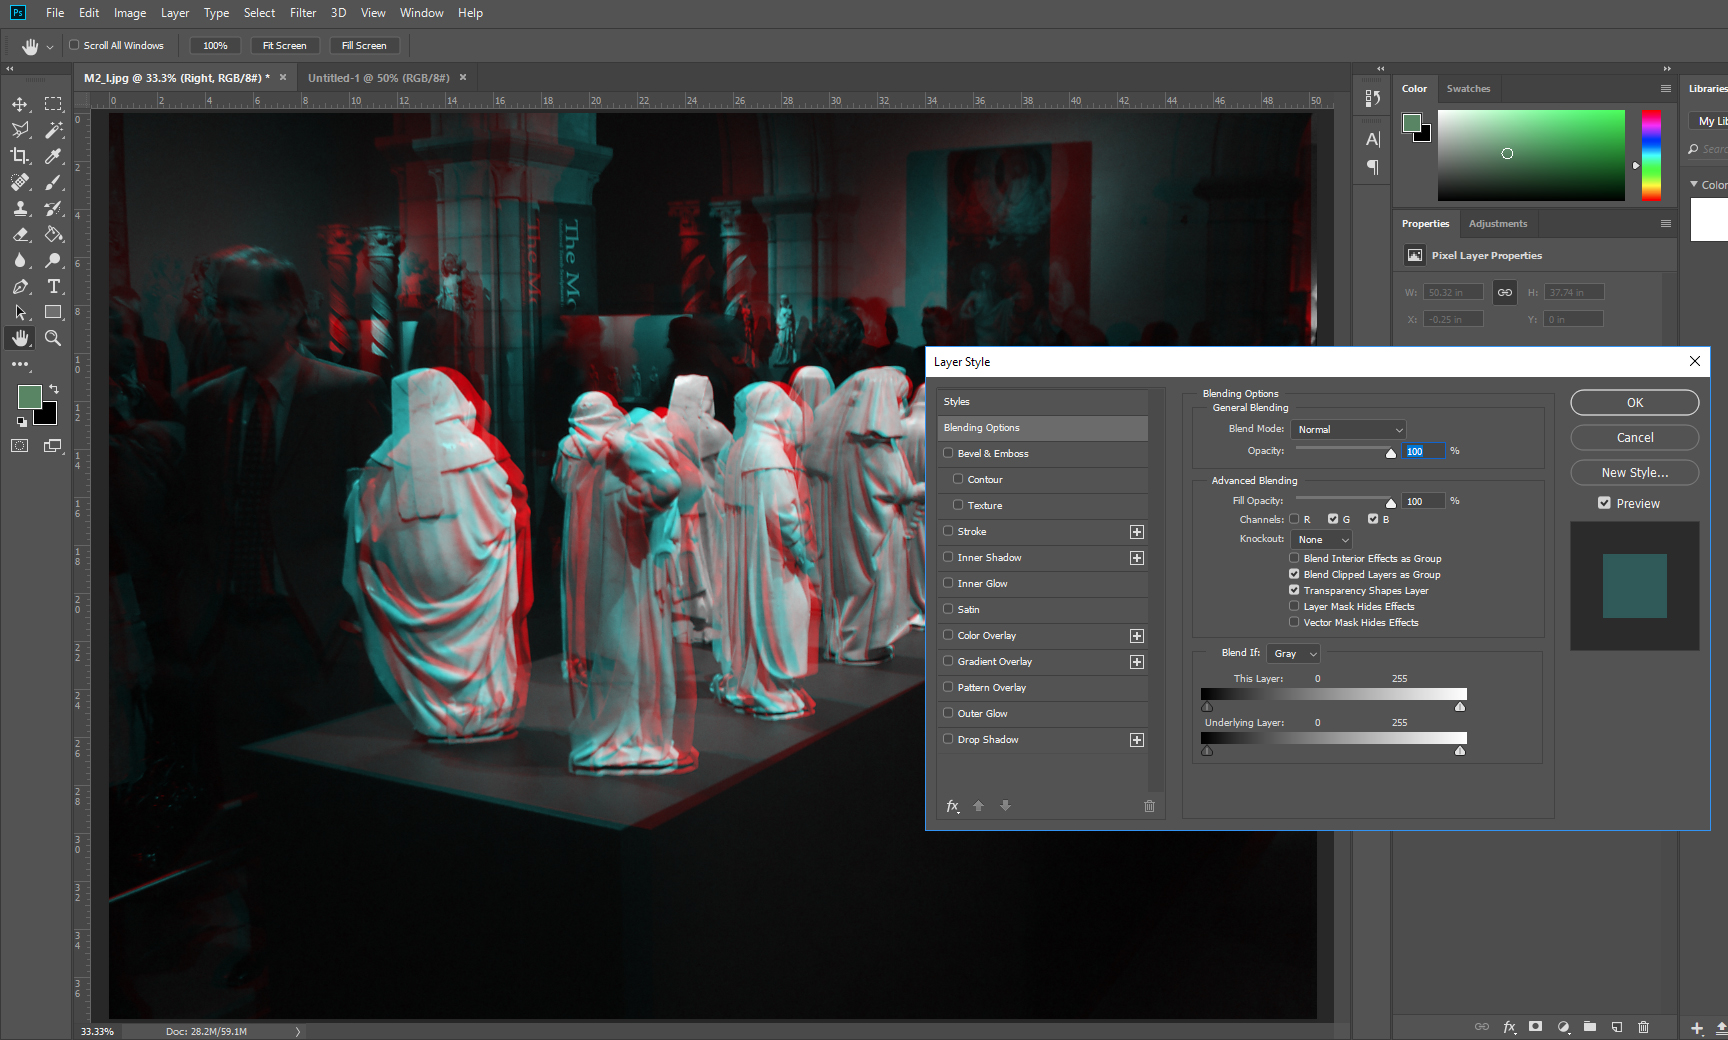
Double click on the blank space after the name Right in the Layers menu. This brings up the Layers Style menu.
Or click Layer > Layer Style > Blending Options…
Right in the center of the dialog box, under Advanced Blending, uncheck the channel marked R (for Red).
And click OK.
You would think you would need to go to the Left image and uncheck the G and B channels but you don’t. (Unless the Left is on top in which case you don’t have to do the right).

Now you have an anaglyph image but it needs adjusted.
Select the Right layer, and then using the move tool, move it around. Ideally you should only have to move it right and left but nothing is ever perfect.
As you adjust you will notice that sometimes the red and cyan on an area seem to go away and that part becomes solid grayscale. This is the plane of the screen. Anything behind it goes into the screen, anything in front of it pops out of the screen.
Now you have to be careful.
If you set the closest item to be the plane of the screen. The back part of the picture might have too much separation and be hard to view. If you make the back the plane of the screen you will mess everything up because nothing should pop out of the screen that much – it is called violating the stereo window.
You want to find the sweet spot.
When you do. I would do two things.
- Save your project as a PSD file so you can keep adjusting later.
- Save > As your image as a JPG file so you can share with your friends!
PS You will need to open and crop the JPG file to get rid of the parts that didn’t have overlap. Look for it.
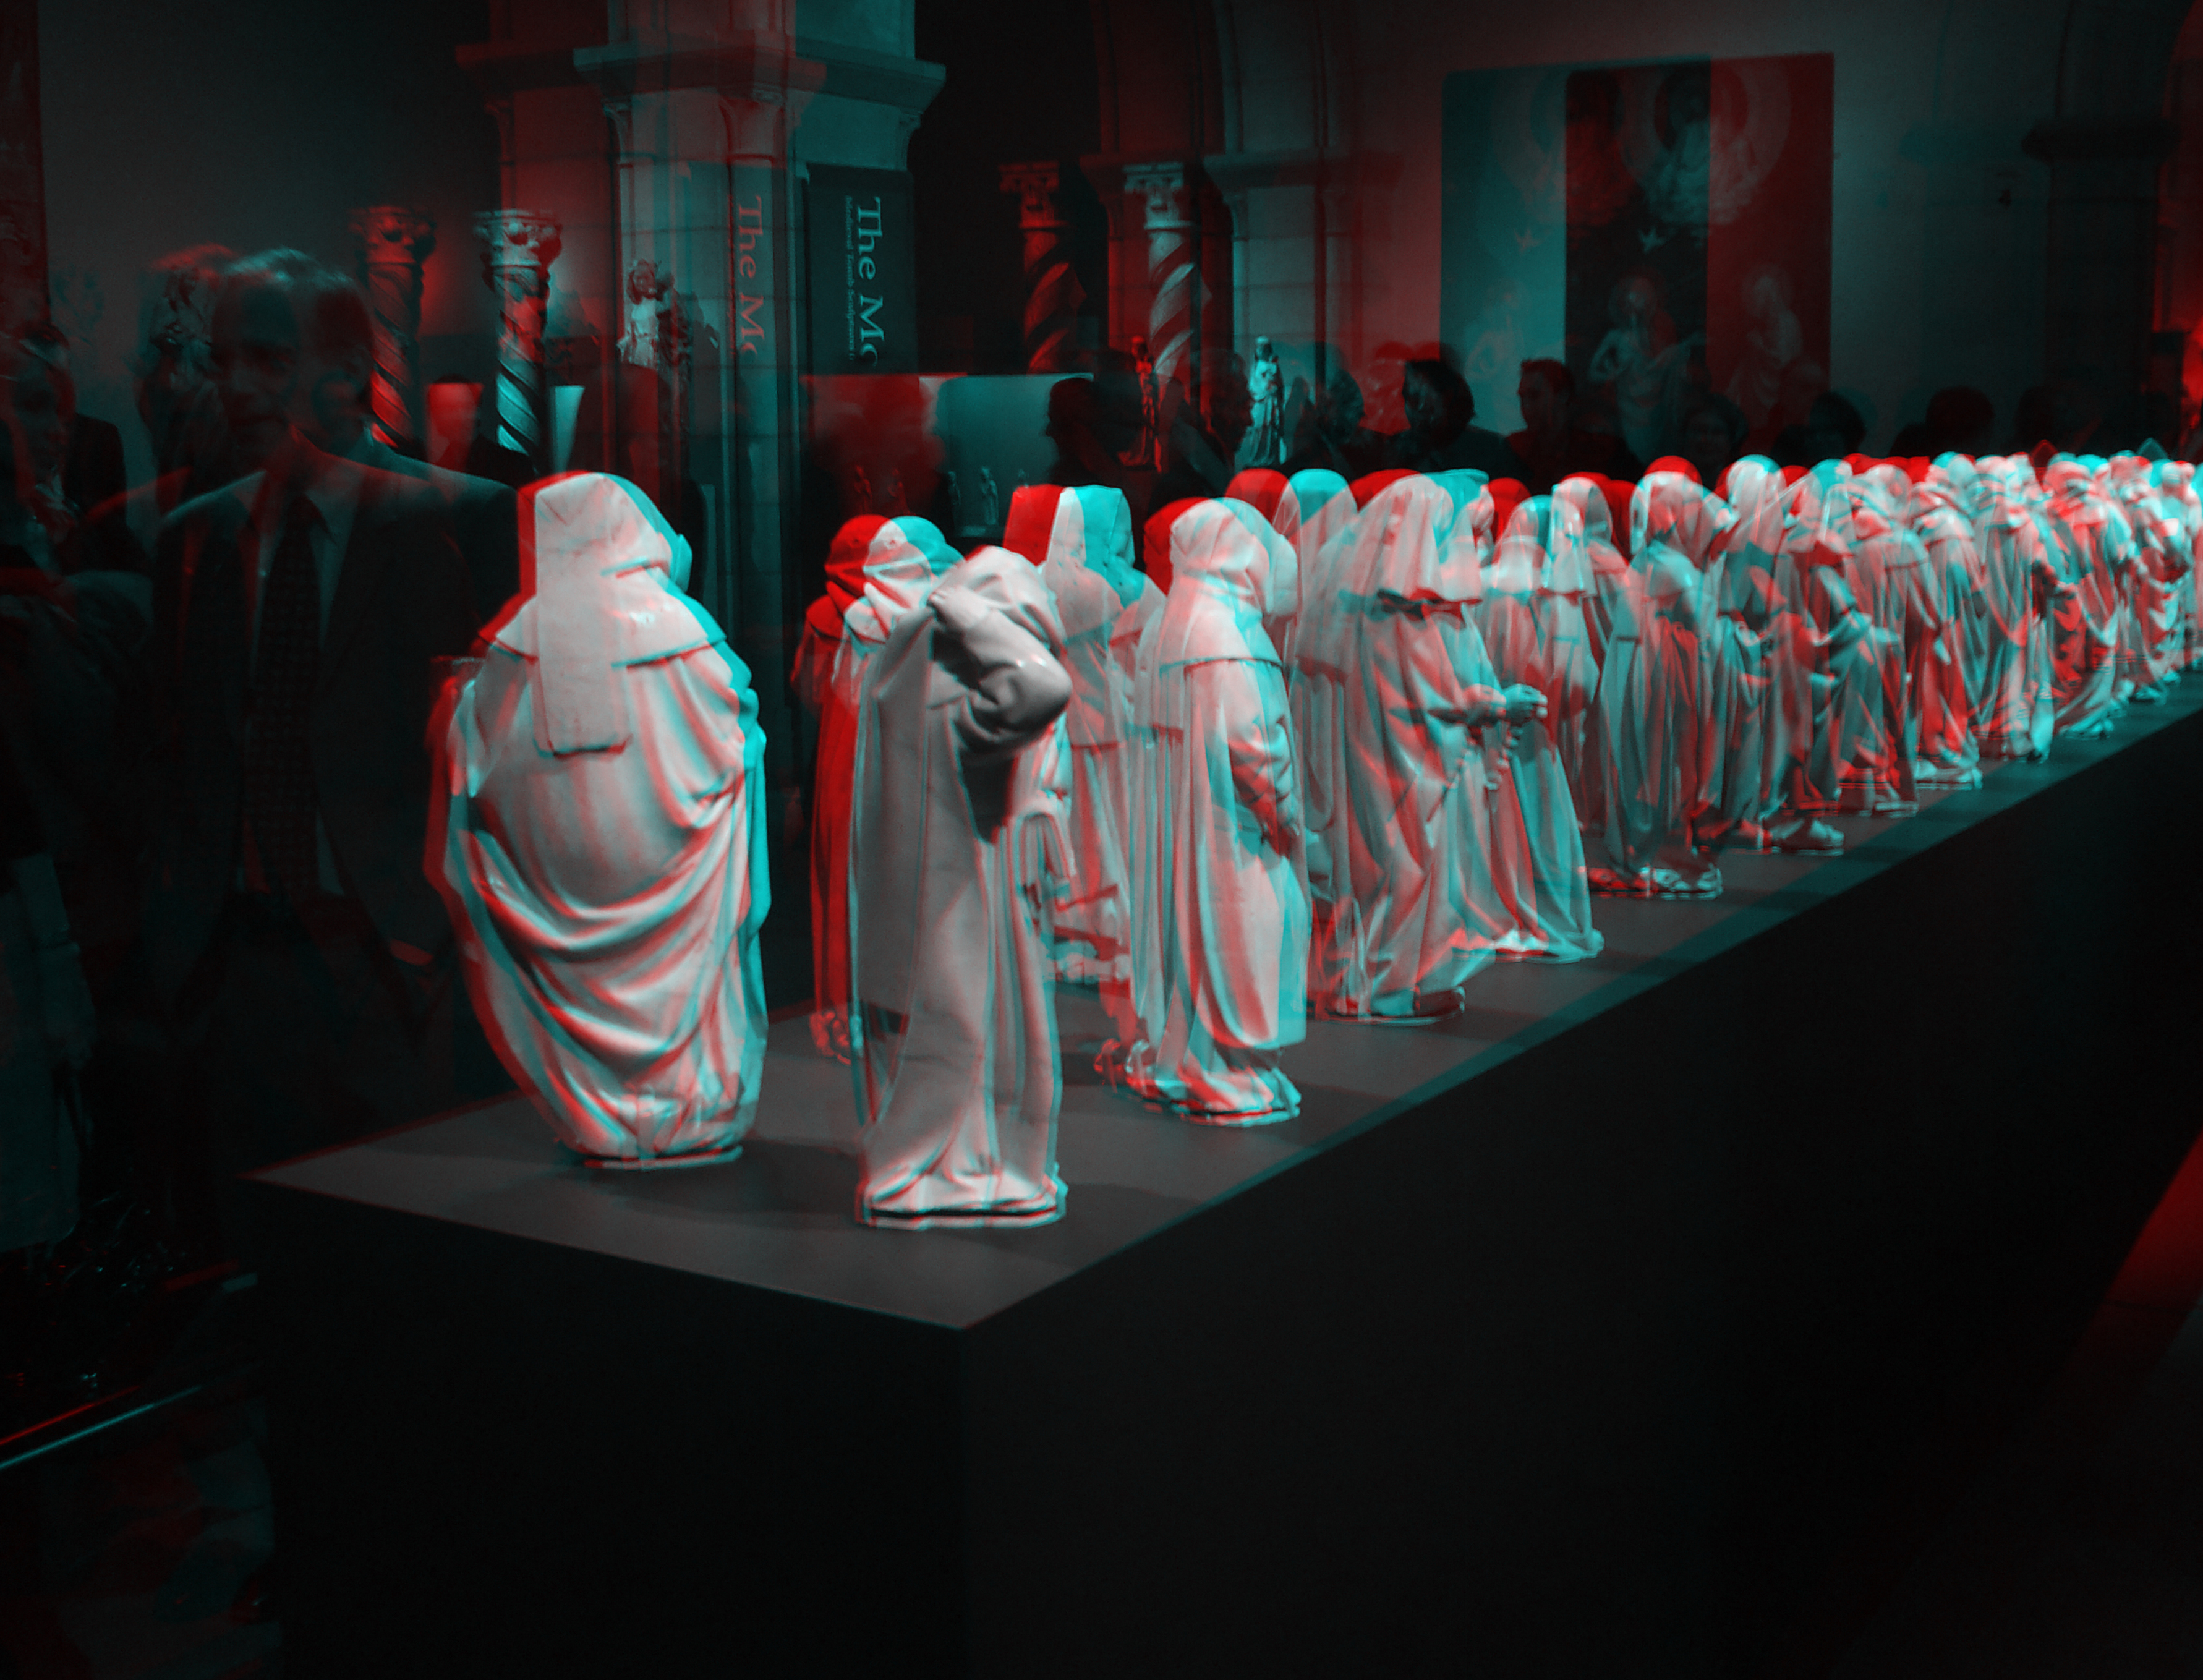
Here is the image aligned at the nearest point:
Here is the image aligned at a far point: (This is bad and hard to view)
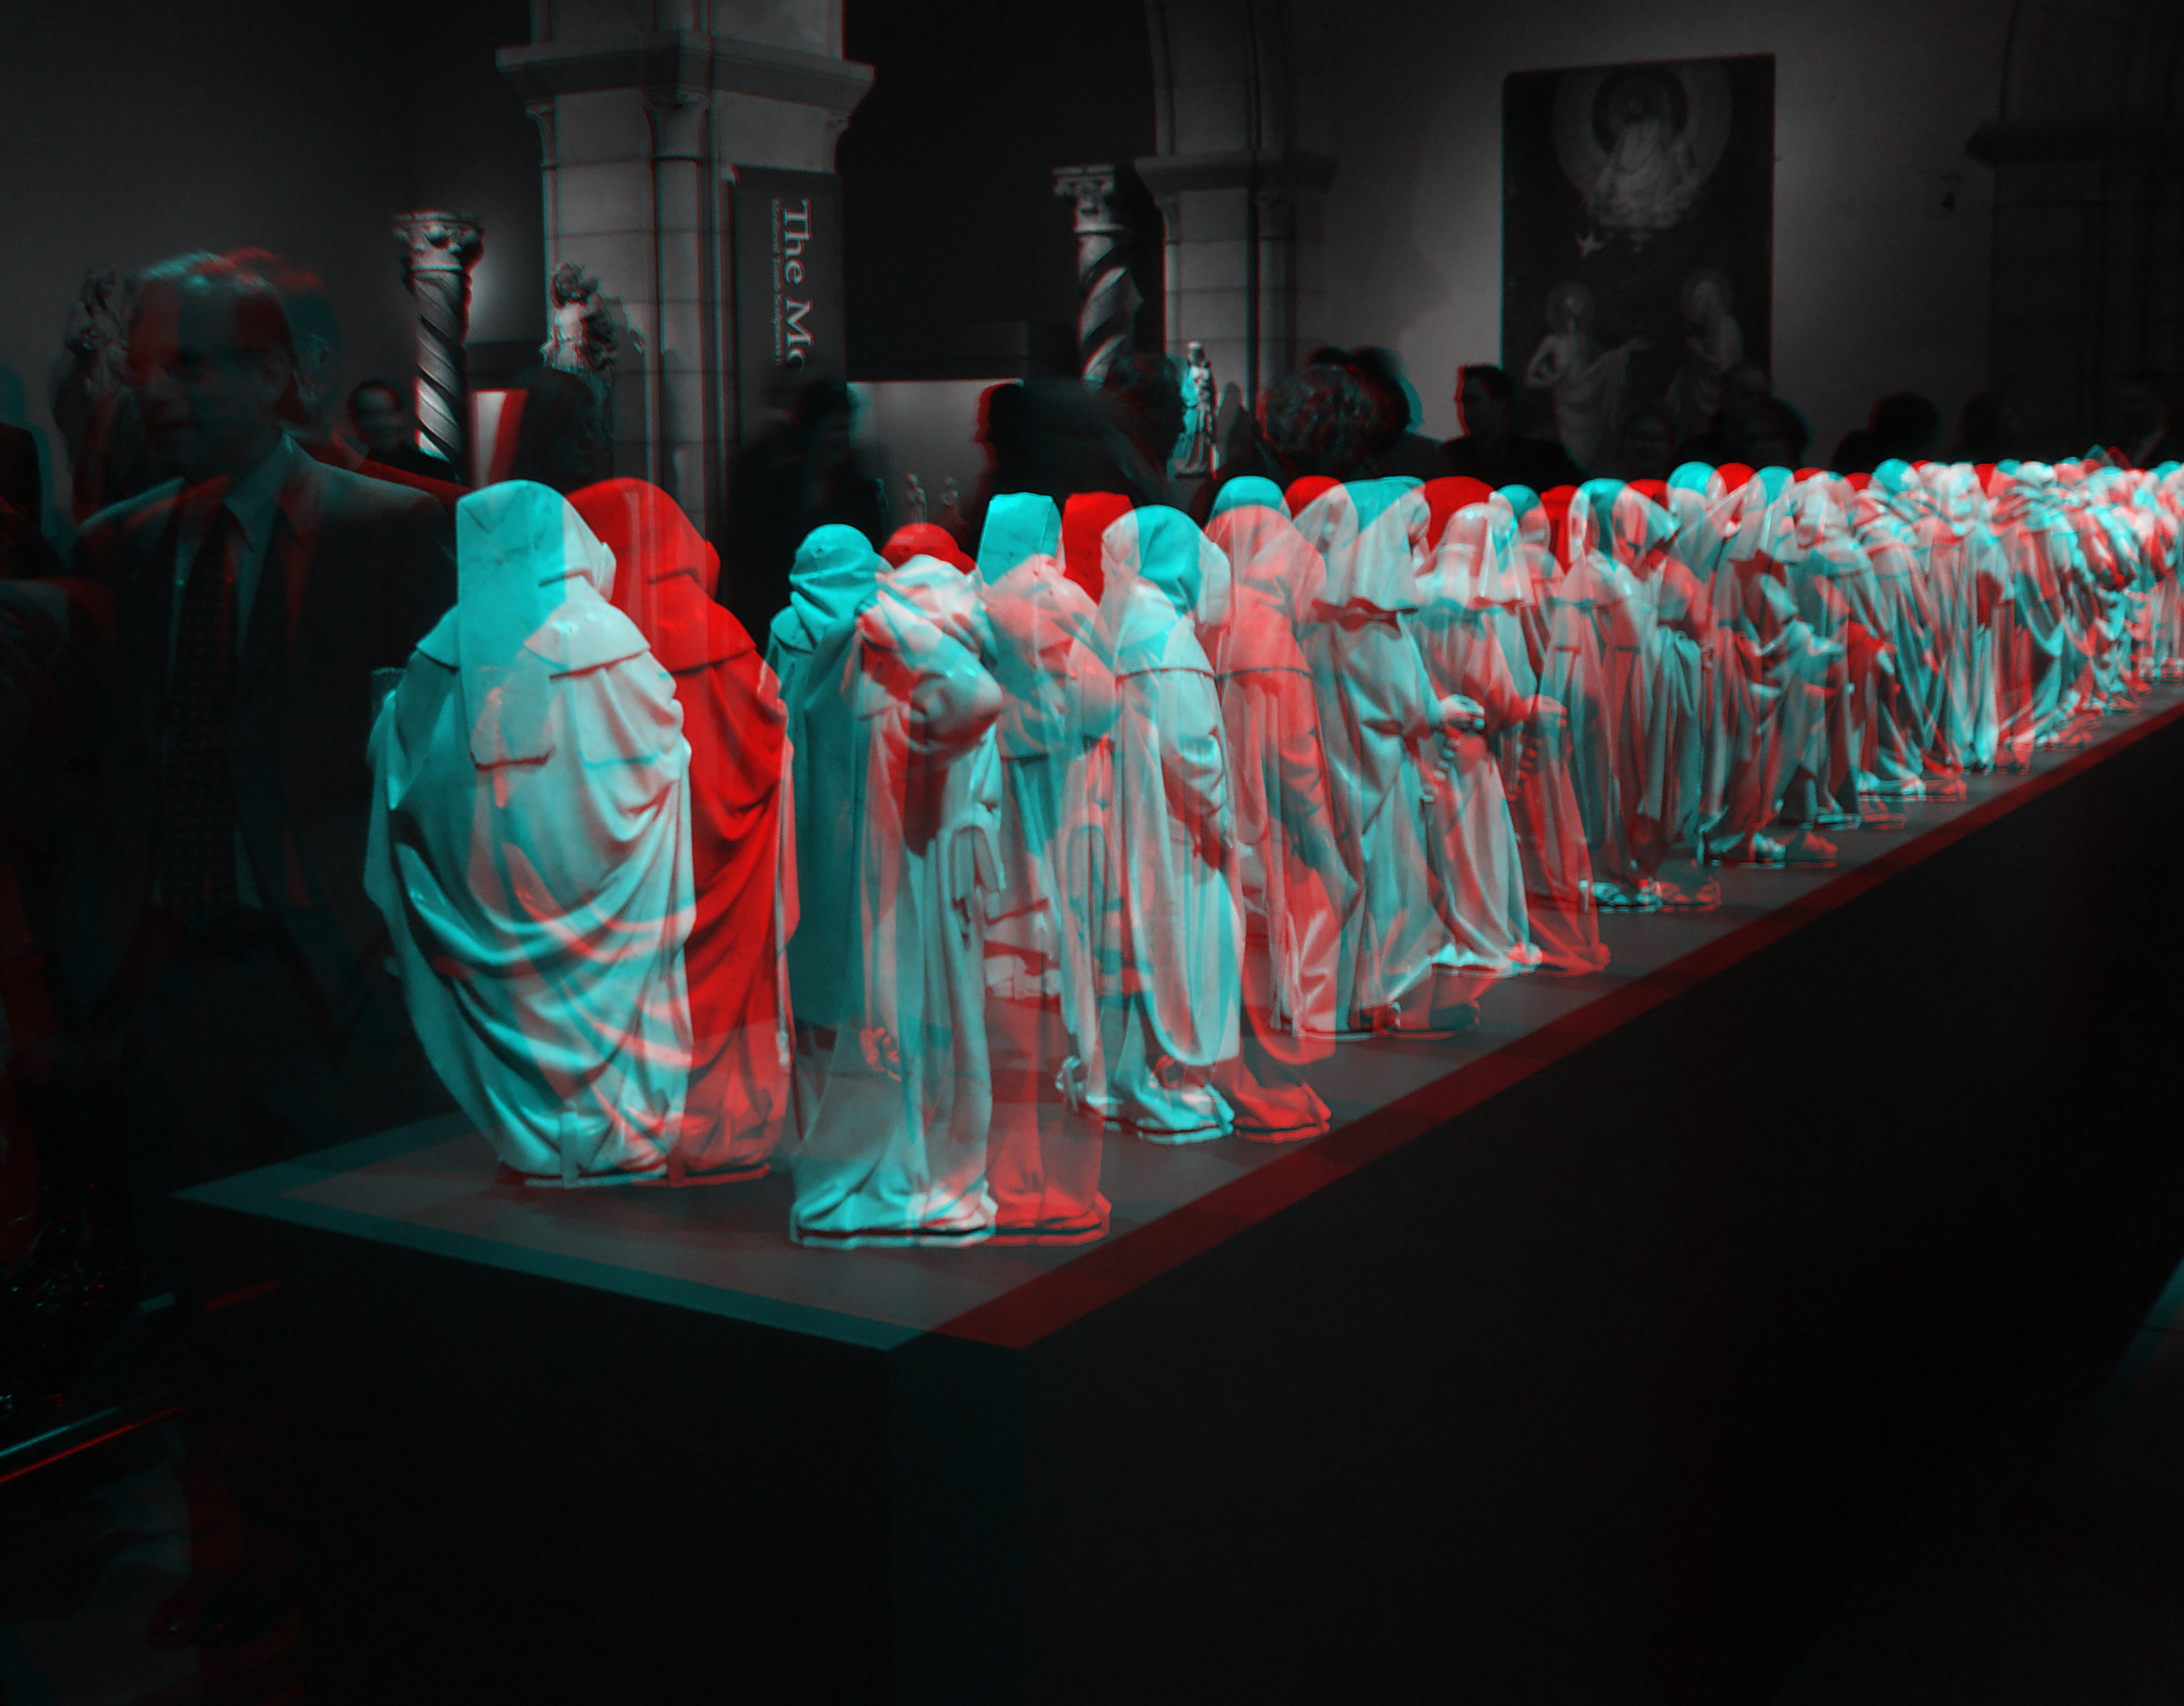
Here is the image going set to about 2/3 into the screen and 1/3 out:

Enjoy!